
Building this website (from scratch)
September 2025
I had the wish of having a personal website for quite a while. This meant however that I needed to think about a few things:
- What will be my domain name,
- How to create the website,
- How to manage something like hosting etc.,
- Which content it will have,
- And of course, creating the actual content.
Starting
Just as with most things, this is the most difficult part. (Just as the writing of this post, for which the finishing date is much later than the date I started writing). I knew I didn't want a WordPress-like website, as the flexibility is often limited there (or you probably pay a lot for it). Furthermore, I did not want a fancy-pancy website either way, especially because these types of websites generally have dynamic or interacting elements that require a server for hosting the website. As I do not have a server, and I did not want to pay a monthly fee to host something I don't need anyway, I looked for so-called static websites.
Researching time
After some Google searches and some YouTube videos (I used this playlist), I found that there exist static website builders. This is a software framework that uses an XML-file and a collection of Markdown documents as input to generate a quasi-dynamic static website for you, which you can host using free services. It is actually rather simple and easy to use, and a lot of professional site builders make use of this framework. The building frameworks that I came across are "HUGO" and "jekyll", but there probably exist a lot more. Once you generate your website using one of these frameworks, you can deploy it and hence host it for free via services as netlify. This all seemed rather convenient.
Initial progress
With this gathered knowledge I started with a lot of enthusiasm. I chose some templates I liked from the HUGO website and started tweaking them to my liking. However, after playing with it for a while, there were still some things I did not like. And I did not know enough of the frameworks themselves to adjust them to my needs (and I also did not have the time to learn this). So, I was at a crossroad. Shall I settle for a template I do not like 100%? Or shall I build my own website myself, from scratch, with the HTML-knowledge I have/had from high-school?
I found that the one and only ultimate challenge was to make my own website in HTML and CSS from scratch.
Building an HTML website
Once I made the decision to do this, the feeling of regret already started to creep up on me. Luckily, one of my best friends got to the same challenge as I have now a few years ago (although, he is an IT'er, so not so much of a challenge). This gave me a starting point and some inspiration from his website (which is currently offline again). So, with an index.html and a style.css file, the adventure began.
Getting something online
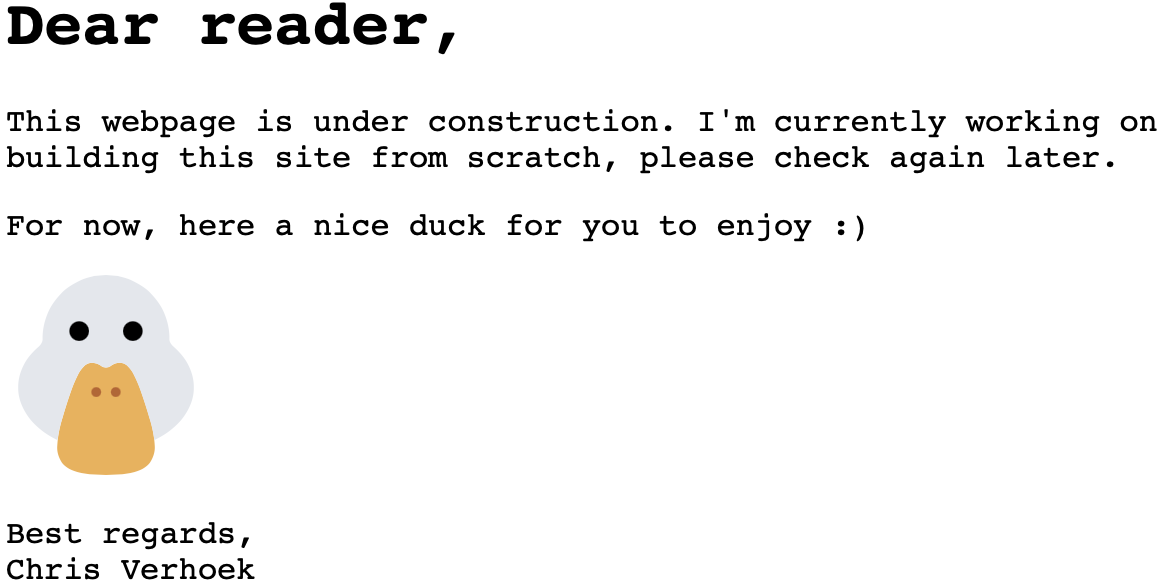
Next to having the website built in HTML, I also needed to get it somehow online. I quickly figured that you could use GitHub with GitHub Pages to host your static website (for free) without too much trouble. This made the whole process even nicer, as I could just modify and test the website locally and push it to the GitHub repository when I was satisfied. GitHub Pages itself then accounted for the 'putting-it-online' part of the process. Therefore, I made a small under-construction-page to put online, which looked like this:
I used the Dutch company TransIP to manage the domain. I'm writing this blog a long time after I first set it up, but I remember that it required some time and effort to set up the linking between the TransIP domain and GitHub Pages. But after several visits to YouTube and StackExchange, I managed to get it working for both my chrisverhoek.nl and chrisverhoek.com domain. (And I never touched it again). So, with the under-construction-page available to the world, I could start building.
Setting up a framework
If you look into the HTML code of any website (using the "Inspect element" option), almost every element is a 'div' block. However, this is not how the HTML coding language was originally designed. The language allows for building highly structured websites, with a '<body>' that contains a '<header>', '<main>', and '<footer>'. The '<main>' on itself may contain one or more '<article>' blocks, and these '<article>' blocks contain different '<section>' blocks. The lowest hierarchical layer are the paragraph blocks '<p>'. This was something I could work with, and, purist as I am, I was going to use HTML as it was intended.
After a few evenings of work, I managed to get everything working, and got a basic website, which was essentially rather empty, but fast, working, and (most important) pure HTML and CSS. I was happy. The trouble started when I wanted to make updates and major changes.
Building a builder
One major downside about working only in HTML and having several pages with the same style, changing a detail in, for example the footer, requires changing the footer for every page. As I made my website more elaborate, I became more and more annoyed up to the point that I hacked a builder together in Python.
This was one of those projects where I wanted to minimize effort and maximize reuse. Hence, together with my new friend ChatGPT, I vibe-coded this website builder together.
The hacky Python builder...
The website builder is built in Python (I considered Matlab for a minute, but my friend knows probably more about Python + HTML than Matlab + HTML. Just kidding, Matlab would be a nightmare, haha). The builder works as follows. Using the Body class, which is part of the general html_template class, it creates a template webpage (i.e., a <body>), such as this one or my research page, with only a header, an empty main, and a footer. These header, main, and footer templates are defined as template blocks, see the folder where these are stored. In these blocks, I defined so-called, identifiers that are indicated with '$$$'. The template page, which is an object in the Body class, is then filled up with different articles, such as this one.
When all the articles are added (each using the .add_html_article() function), the index.html page is generated with the make_index_file() function. The index file is the main html page, i.e., the 'official' webpage of the research landing page is https://research.chrisverhoek.com/index.html. The make_index_file() function substitutes $$$IDENTIFIERS$$$ with the correct information, such that the links are correct, and every page will use the same header, body, and footer style.
Displaying references
Another problem that I faced in writing the HTML code by hand is writing my list of publications. I'm already very happy that in LaTeX, the bibtex package will make sure the formatting of the references is according to the rules. Every time I finished a preprint or when a paper got accepted, I needed to look up the correct formatting style for the particular reference. This should be easier...
Luckily, I was not the only one who dreamt about having a .bib file parser in Python. Michael Weiss made the fantastic Python package bibtexparser, which allowed me to load in a bib file and extract the different entries. Then, as you do, I hacked together a Python script together that synthesized a list of references. I made it such that the list of publications is ordered by type, then year, then order of authors (myself first, of course ;-)). I also formatted my own name in boldface. If I want to make changes, then I simply modify the bib-file and run the synthesize_refs.py script (which automatically runs when I run the main script). With this last hacky functionality hacked into my hacky builder, I consider it fairly done. This meant of course that I should really try to complete this blog (3 years later than planned).
Future work
I initially started the website-builder project to add functionality that would allow for loading in Markdown files as articles. I might do that in the future, but so far I'm quite ok with typing these type of blogs in HTML. If I will start this adventure, I will probably give a small update here, but that will probably take years (just like completing this blog). Currently it is managable, thus acceptable.
A final judgement
Let me now try to answer the most important question... Is it useful? My answer to that is yes-ish. It solves two of my wishes: 1. it is purely HTML, which I find somehow very satisfying, and 2. it is fairly easy to use (for me). The second most important question, and actually maybe the most important for the reader: Is it usable for people not named Chris Verhoek? Well... I'm not sure. Probably. But, if you want to just have a website, it is much better to check out the dedicated website builders such as "HUGO" or "jekyll". If you are stubborn like me, however, feel free to spam me with questions on how to use it.
If you made it this far, I sincerely thank you for reading this blog. I hope you enjoyed it!